Hospitality
What Makes Week-Long Guests Different (And How To Prepare for Them)
Unlike the speedy one-night stay, guests who have booked a full week with you have seven whole days to settle in and soak up your


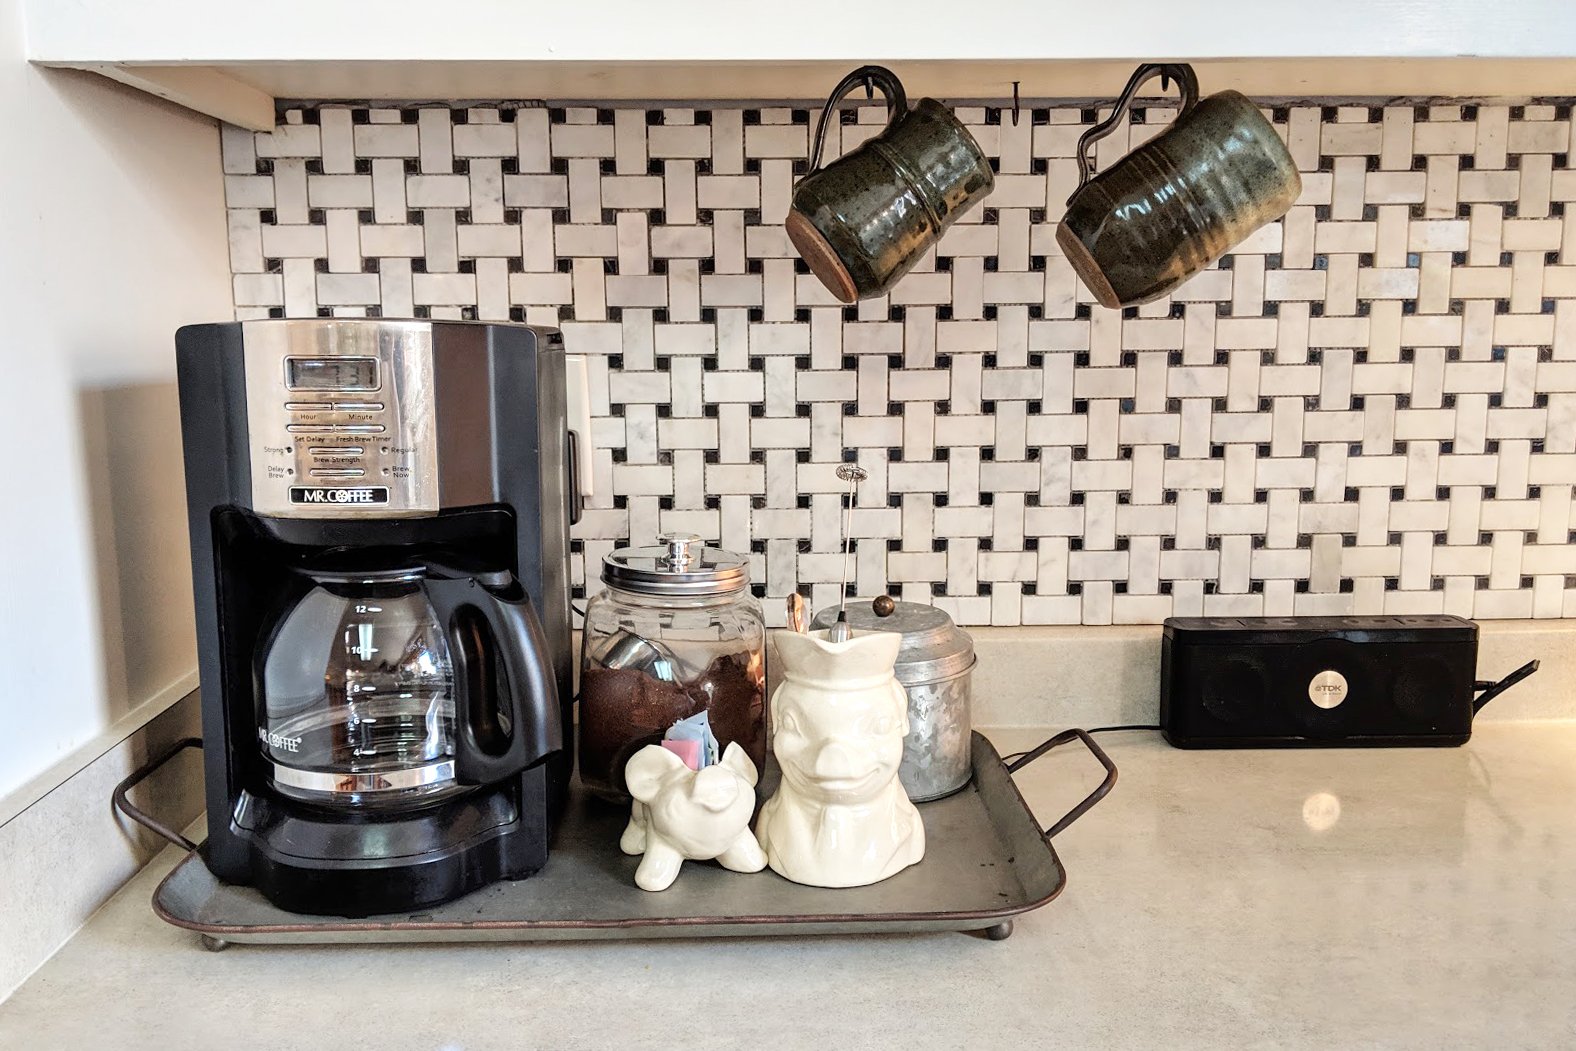


Unlike the speedy one-night stay, guests who have booked a full week with you have seven whole days to settle in and soak up your
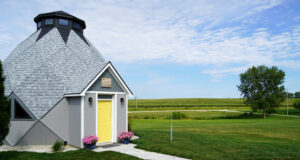
When you first opened the doors to your Airbnb, curiosity was the main driver. “Will folks actually pay to stay in the mother-in-law suite over